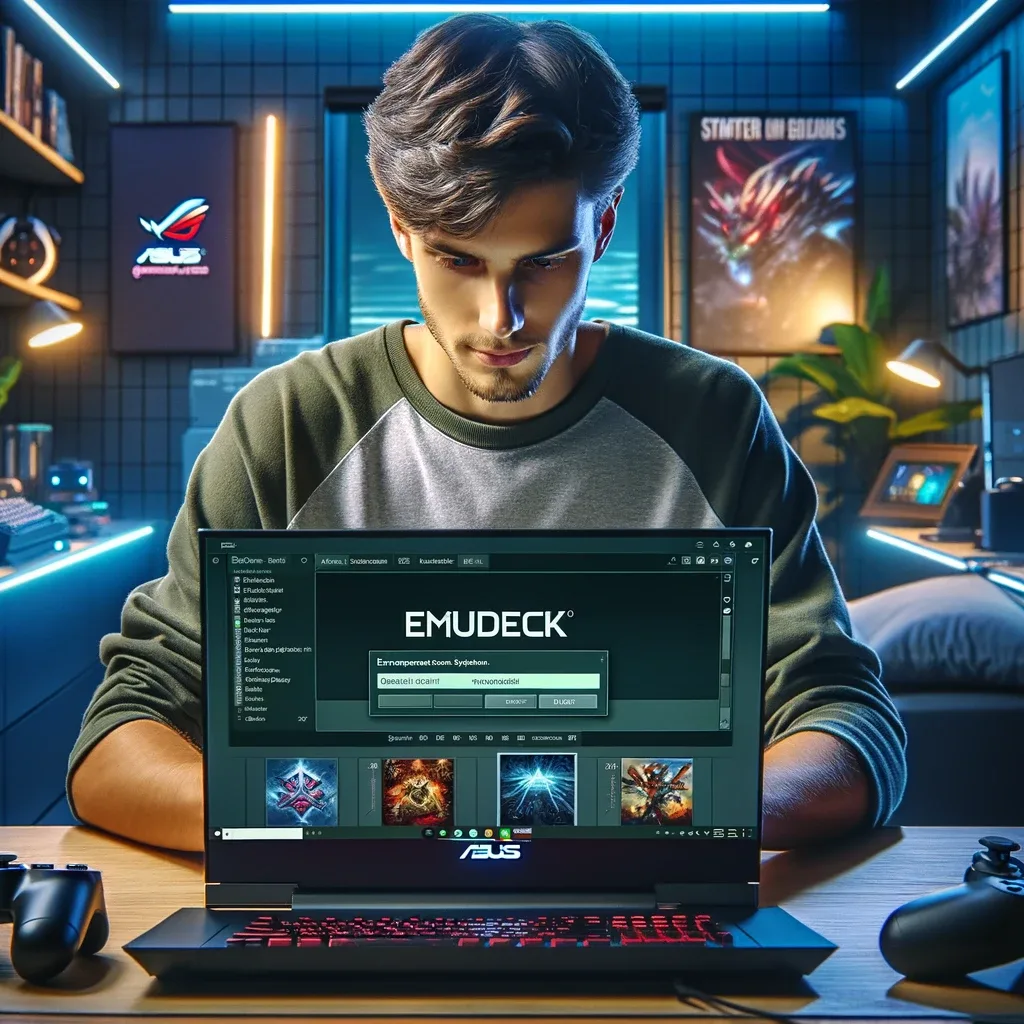
1. Downloading EmuDeck
- Start by visiting the EmuDeck website (link).
- Navigate to the "Download" tab.
- Select the Windows version for the Asus ROG Ally and download the beta version.
2. Installation Process
- Once downloaded, run the installation file.
- A command prompt window will appear; this is expected.
- Close your internet browser to focus on the installation prompts.
3. Updating Necessary Software
- Follow the prompt to update the Windows Store app installer if necessary.
- After updating, the installation will begin to download and install EmuDeck along with required packages.
- Respond to any prompts to update components like the Windows package manager by clicking "Update".
4. Emulator Selection and Configuration
- After the initial setup, you'll be prompted to choose between "Easy Mode" and "Custom Mode". For more control, select "Custom Mode".
- Choose the drive or external storage (like an SD card) where you want to store ROMs.
- Select your device (ROG Ally in this case) and choose the emulators you wish to install. Here’s a quick guide to some of the emulator options:
- RetroArch: Essential for older consoles (pre-2000s games).
- Dolphin: For GameCube and Wii games.
- Citra: For Nintendo 3DS games.
- PCSX2: For PlayStation 2 games.
- Yuzu and Ryujinx: For Nintendo Switch games.
- Other specific emulators for different platforms like Xbox, PS3, Dreamcast, etc.
5. Additional Settings and Preferences
- Set up shaders, aspect ratios, and other preferences based on your liking.
- EmuDeck may also prompt you to integrate with the Steam library, which is optional.
6. Finalizing Installation
- Complete the setup by configuring resolution settings and finalizing emulator installations.
- Update all configurations to ensure emulators are up-to-date.
7. Loading BIOS and ROMs
- Access the Emulation folder on your chosen storage medium.
- Place BIOS files in the BIOS folder and ROMs in their respective console folders within the ROMs folder.
8. Starting EmuDeck
- Launch EmuDeck from the Start Menu and navigate to Emulation Station to view your games.
- If necessary, you can scrape metadata for your games to enhance the user interface.
9. Customizing and Using Emulation Station
- Customize the look and feel of Emulation Station through themes and settings.
- Ensure all games are correctly loaded and displayed in Emulation Station.
- Update and configure RetroArch or any specific emulator settings before playing.
10. Testing and Troubleshooting
- Test various games to ensure proper configuration and performance.
- If any games or emulators aren't performing as expected, check settings for specific solutions like resolution or TDP settings.
This guide should help you get EmuDeck up and running on your Asus ROG Ally, enabling you to play a variety of games across different consoles effectively. Remember, the setup process may vary slightly depending on your specific hardware and software versions.
KEEP EXPLORING
This article was originally published on 29 Apr 2024. Product specifications, prices and availability may have changed. We sometimes receive review products and may earn commission through affiliate links. We are not obliged to publish a positive review. About our reviews and disclosures.